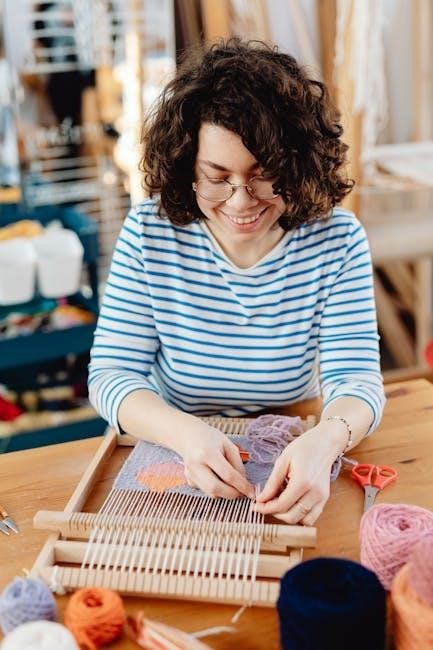
Weaving looms make creating art easy and accessible․ Start with simple tools like cardboard or metal frames․ Follow easy steps to craft unique textiles and designs․
1․1 What is a Weaving Loom?
A weaving loom is a frame or tool used to interlace yarn or threads into fabric or textiles․ It can be made from cardboard, metal, or other materials, offering a sturdy base for weaving․ The loom holds warp threads taut, allowing the weft to be woven through easily․ Simple looms, like cardboard ones, are great for beginners, while metal looms provide durability for larger projects․ Looms come in various sizes and complexities, making them accessible for all skill levels․ They simplify the weaving process, ensuring even tension and alignment, and are essential for creating consistent and professional-looking weaves․
1․2 Benefits of Using a Weaving Loom
Using a weaving loom simplifies the weaving process, ensuring even tension and alignment․ It allows for consistent and professional-looking results, making it ideal for both beginners and experienced crafters․ A loom provides a sturdy base for interlacing yarn or threads, enabling precise control over your design․ Whether you use a cardboard or metal frame, the loom offers versatility for various projects, from small ornaments to larger textiles․ It also saves time by organizing warp threads, allowing you to focus on creativity; With a loom, you can explore a wide range of patterns and techniques, making it an essential tool for anyone looking to create high-quality woven art․
1․3 Why Choose Easy Steps for Weaving
Choosing easy steps for weaving ensures a stress-free and enjoyable experience, especially for beginners․ Simplified instructions make it easier to grasp basic techniques, allowing you to start creating immediately․ Clear, step-by-step guides help build confidence and reduce frustration․ Easy steps also save time, enabling you to complete projects efficiently․ They provide a solid foundation, making it easier to gradually explore more complex patterns and designs․ By following straightforward methods, you can focus on creativity and experimentation, ensuring a satisfying and rewarding crafting journey․ This approach makes weaving accessible to everyone, regardless of skill level, fostering a sense of accomplishment with every completed project․
Materials Needed for Weaving
Gather essential tools like cardboard, scissors, and yarn․ Use a sturdy loom or create one from cardboard․ Hooks and measuring tools add convenience to the process․
2․1 Essential Tools for Weaving
The basic tools needed for weaving include a sturdy loom, whether store-bought or handmade from cardboard․ Scissors are essential for cutting yarn and warp threads․ A measuring tape ensures even spacing, while a hook or needle helps in interlacing the weft and warp․ For simple projects, fingers can suffice, but a small metal or plastic hook is recommended for precision․ These tools are easy to find and set up, making the weaving process accessible for beginners․ They provide the foundation for creating beautiful and unique textiles with minimal effort and cost․
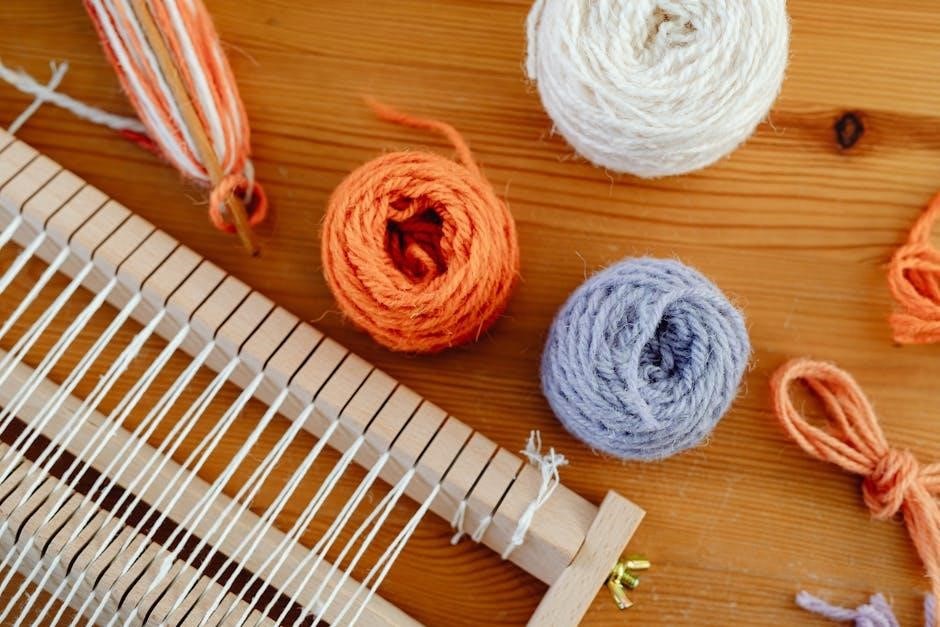
2․2 Types of Yarn for Different Projects
Choosing the right yarn is crucial for your weaving project․ Acrylic yarn is ideal for beginners, offering softness and vibrant colors․ Cotton yarn is durable and perfect for wall hangings or coasters․ Wool yarn adds warmth and texture, great for ornaments or decorative pieces․ Blends like acrylic-cotton mixes provide versatility and strength․ Select yarns that match your project’s desired texture, color, and durability․ This ensures your weave turns out as envisioned, whether it’s a delicate ornament or a sturdy wall hanging․ Experimenting with different yarn types allows you to explore various styles and effects, making your weaving journey more creative and rewarding․
2․3 Optional Accessories for Customization
Enhance your weaving projects with optional accessories for a personalized touch․ Beads or sequins can add texture and sparkle, while tassels or fringe create a decorative edge․ Use a small hook for intricate patterns or loops for unique designs․ These extras allow you to experiment with colors, textures, and styles, making your weave truly one-of-a-kind․ Whether it’s adding beads for visual interest or incorporating fringe for a bohemian look, accessories expand your creative possibilities․ They are easy to incorporate and offer endless ways to customize your work, ensuring each project reflects your personal style and creativity․
Setting Up Your Loom
Setting up your loom involves cutting slits, making loops, and securing the warp․ This simple process ensures even tension and makes weaving easy for everyone․
3․1 How to Make a Cardboard Loom
Creating a cardboard loom is a simple and cost-effective way to start weaving․ Begin by cutting a piece of sturdy cardboard to your desired size․ Next, cut small, evenly spaced slits along one edge, typically about 1/2 inch apart, to serve as the warp guides․ These slits will help you maintain even spacing as you weave․ Secure the warp yarn by tying it around the cardboard or using a small loop․ This setup allows for easy weaving and is perfect for beginners or small projects․ With your cardboard loom ready, you can start your weaving journey effortlessly․
3․2 Cutting Slits for Warp Threads
Cutting slits for warp threads is a crucial step in setting up your loom․ Use scissors or a craft knife to create small, evenly spaced slits along one edge of the cardboard․ These slits should be about 1/2 inch apart to ensure your warp threads are evenly distributed․ Secure the warp yarn by tying it around the cardboard or creating small loops that fit into the slits․ This setup provides a stable foundation for weaving․ Make sure the slits are consistent to maintain even tension and alignment․ Properly cut slits will make the weaving process smoother and more enjoyable․ Always use caution when handling sharp tools․
3․3 Preparing the Warp
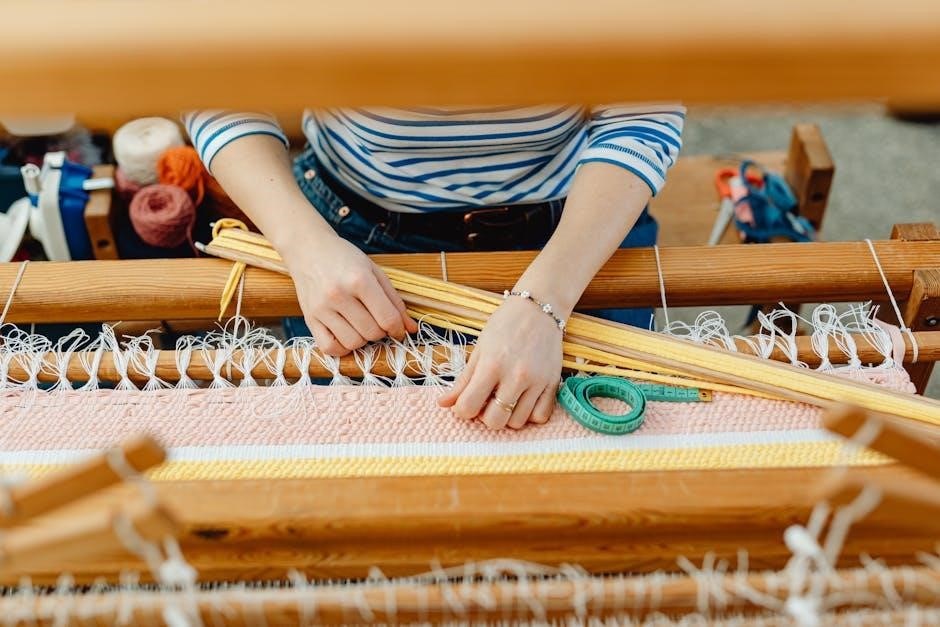
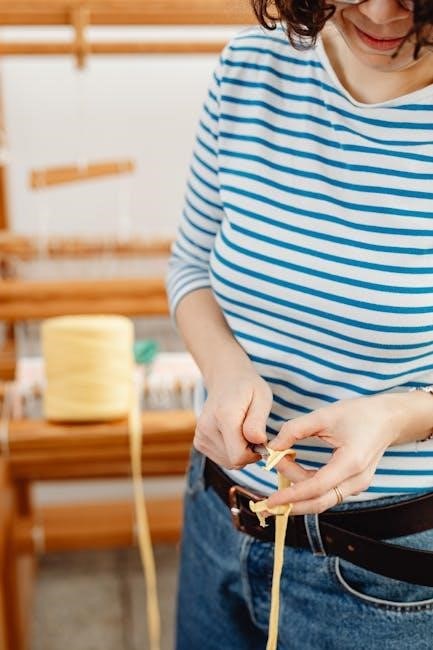
Preparing the warp is essential for a smooth weaving experience․ Begin by looping your yarn around the slits on the cardboard loom, ensuring each loop is snug and evenly spaced․ Secure the loops by pulling the yarn gently to maintain consistent tension․ Use a fork to hold the warp in place while you work, keeping the threads organized․ This step ensures your warp is taut and evenly aligned, which is crucial for successful weaving․ Properly prepared warp threads will help you achieve a neat and professional-looking finished product․ Always check the warp for any loose ends before starting to weave․ This simple preparation ensures a strong foundation for your project․
3․4 Attaching the Weft
To attach the weft, start by threading your yarn through a needle or directly using the end of the yarn․ Begin at one end of the warp threads, looping the yarn over the first warp thread and pulling it gently to secure․ Continue this process, moving from one warp thread to the next, keeping the yarn tight to avoid loose weaving․ Use a fork or similar tool to hold the yarn in place as you work․ Once the first row is complete, tie the end of the yarn to a warp thread to prevent unraveling․ This step ensures your weft is evenly spaced and tightly woven, creating a sturdy base for further weaving․ Maintain even tension to achieve a professional finish․
Basic Weaving Techniques
Start with a simple over-under pattern, securing the yarn tightly․ Use a fork to gently tighten the weft, ensuring even tension for a neat, professional finish․
4․1 Starting Your First Weave
Begin by securing your warp threads tightly on the loom․ Attach the yarn to the first warp thread and gently bring it back and forth․ Maintain even tension to prevent the fabric from sagging․ Start with a simple over-under pattern, using a fork or tool to guide the yarn․ Keep the first few rows loose to allow for easy adjustments․ As you progress, pull the yarn tighter to form a sturdy base․ This foundational step ensures your project starts smoothly and sets the stage for more complex techniques later on․ Practice patience and enjoy the creative process of weaving your first piece․
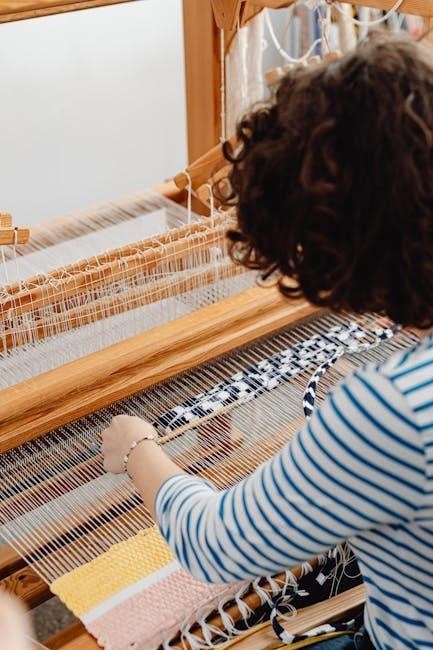
4․2 Interlacing the Weft and Warp
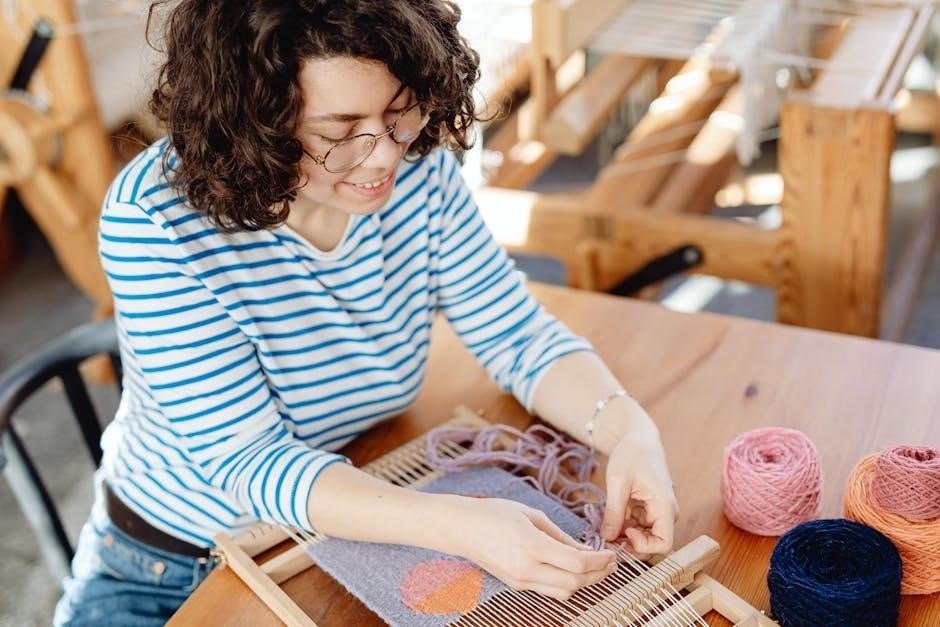
Interlacing the weft and warp is the core of weaving․ Start by threading the weft yarn through the first warp slit․ Use a fork or tool to guide it over and under the warp threads in a steady rhythm․ Alternate the pattern row by row, ensuring the yarn lies flat․ Pull the weft gently but firmly to maintain even tension․ Avoid pulling too tightly, as this can cause puckering․ For a tighter weave, pass the yarn back and forth in the same slit before moving to the next․ This step requires patience and consistency to achieve a smooth, even fabric․ Keep the loops small for a neater finish․
4․3 Pulling the Yarn Tight
Pulling the yarn tight is essential for a neat and sturdy weave․ After interlacing the weft and warp, gently tug the yarn to secure it in place․ Ensure even tension by pulling firmly but not overly tight, as this can distort the fabric․ Use a fork or weaving tool to help tighten the yarn evenly․ Consistency is key—maintain the same tension throughout to achieve a uniform texture․ If the yarn is too loose, the weave may sag, while excessive tightness can cause puckering․ Check each row as you go and adjust tension as needed․ This step ensures your project lies flat and looks professional․
Advanced Weaving Patterns
Explore intricate designs by incorporating textures, colors, and unique yarn combinations․ Elevate your weaving skills with creative patterns that add depth and visual interest to your projects․
5․1 Creating Simple Patterns
Start by experimenting with basic patterns using alternating yarn colors or textures․ Use a cardboard loom to create evenly spaced slits for your warp threads․ Attach the yarn securely and begin weaving by interlacing the weft through the warp․ For a simple stripe pattern, change the weft yarn color periodically․ To add texture, incorporate different yarn types or thicknesses․ Maintain even tension to ensure a neat finish․ You can also use a hook or your fingers to guide the yarn․ This method allows for easy customization and creativity, making it perfect for beginners․ Simple patterns are a great way to build confidence before moving to more complex designs․
5․2 Adding Textures to Your Weave
Add texture by incorporating various materials like thick yarns, ribbons, or even fabric scraps․ Experiment with different yarn thicknesses or knotting techniques to create unique effects․ For example, use bulky yarn for a chunky look or thin yarn for a delicate feel․ You can also weave in small objects like beads or buttons for added interest․ To enhance texture, vary the spacing between your weft threads or leave small gaps for a more organic appearance․ Using a cardboard loom, you can easily control the placement of these elements․ This step allows you to personalize your project and give it a distinctive, handmade charm․ Texture adds depth and visual appeal to your weave․
5․3 Incorporating Colors and Designs
Incorporate colors and designs to make your weave visually appealing․ Start by planning a color scheme or pattern․ Use yarns of different hues to create stripes, gradients, or geometric shapes․ For a modern look, alternate colors in a repeating sequence․ You can also add subtle texture by introducing metallic or glitter yarns․ To create intricate designs, try weaving in small motifs or symbols using contrasting colors․ Experiment with ombre effects by gradually transitioning from one shade to another․ Beads or tassels can add decorative elements․ Using a cardboard loom, you can easily control color placement and design execution․ This step lets you express your creativity and bring your unique vision to life․
Adding Embellishments
Add beads, tassels, or sequins to enhance your weave․ Use simple techniques to incorporate these elements, giving your project a personalized and decorative touch with minimal effort․
6․1 How to Add Beads to Your Weave
Enhance your weaving by incorporating beads for a decorative touch; Thread beads onto the yarn before weaving or slide them onto the weft as you go․ For a secure fit, use a needle to thread beads onto the yarn․ Alternatively, add beads directly to the warp threads for a more intricate design․ Ensure the beads are evenly spaced and aligned․ To keep beads in place, gently pull the yarn tight after each addition․ This simple technique adds texture and visual interest to your finished project, making it stand out with minimal effort․ Beads can be used sparingly or abundantly, depending on your desired design․
6․2 Creating Tassels and Fringes
Tassels and fringes add a decorative finish to your weaving․ To create tassels, cut equal lengths of yarn and fold them in half․ Attach the folded end to the warp or weft threads using a needle․ For fringes, trim the excess yarn evenly after completing the weave․ You can also add beads to the tassels for extra flair․ Simply thread beads onto the yarn before attaching․ Tassels and fringes can be customized in length and color to match your design․ This step adds a professional touch and completes your project with a polished look․ Experiment with different styles to enhance your weaving’s visual appeal and creativity․
6․3 Incorporating Other Materials
Add unique textures by incorporating materials like ribbons, fabric strips, or natural elements․ Simply weave these into your design alongside yarn for visual interest․ Experiment with beads or sequins for sparkle․ Secure items like buttons or small ornaments using a needle and thread․ Natural materials, such as dried flowers or leaves, can add an organic feel․ Ensure even tension to maintain the weave’s integrity․ Avoid overloading the loom with heavy objects․ Instead, balance embellishments for a polished look․ This step allows creativity, making each project truly personalized and visually striking․ Keep it simple for beginners while exploring endless possibilities for customization in your weaving projects․ Start small and build confidence with diverse materials․
Finishing Your Project
Secure the ends tightly, trim excess yarn, and your project is complete․ Display your finished work proudly, knowing you’ve created something unique and meaningful․
7․1 Securing the Ends of the Weave
Securing the ends of your weave ensures durability and a professional finish․ Start by threading the loose yarn ends through a needle and weave them back into the fabric․ This step prevents fraying and keeps your design intact․ For added security, apply a small dot of fabric glue where the yarn ends meet․ Allow it to dry completely before handling the finished piece․ Properly securing the ends is crucial for maintaining the integrity of your weave, especially if it will be used as a functional item like a coaster or wall hanging․
7․2 Trimming Excess Yarn
After securing the ends, trim any excess yarn to create a clean finish․ Use sharp scissors to carefully cut the yarn close to the weave, ensuring not to cut too much․ This step prevents loose ends from unraveling and gives your project a polished look․ Be cautious not to cut the main fabric of the weave․ For evenness, trim both the top and bottom sides․ Trimming excess yarn is essential for maintaining the neatness and durability of your finished piece, especially for items like wall hangings or coasters․ A well-trimmed weave enhances the overall appearance and ensures a professional finish․
7․3 Displaying Your Finished Work
Displaying your finished weaving adds the final touch to your project․ Consider framing your work or attaching it to a dowel for a decorative wall hanging․ For smaller pieces, like coasters or ornaments, arrange them in a bowl or on a shelf․ If you’ve made a larger textile, drape it over a furniture piece or use it as a table runner․ Ensure your display area is well-lit to highlight the colors and textures․ Properly showcasing your weaving allows you to enjoy your creation and share it with others․ This step brings satisfaction, knowing your handmade piece is now a beautiful part of your home decor․
Tips and Tricks
Maintain even tension while weaving to ensure a balanced fabric․ Use a hook or fingers for control, and avoid pulling yarn too tight to prevent puckering․
8․1 Maintaining Even Tension
Maintaining even tension is crucial for a balanced weave․ Start by gently pulling the warp threads to ensure they are taut but not overly tight․ As you weave, keep the weft yarn at a consistent tension to avoid loose or puckered fabric․ Use a ruler or measuring tape to check the spacing between warp threads․ If necessary, adjust the tension by gently pulling the warp threads․ For beginners, using a simple tool like a small comb can help keep the threads aligned and evenly spaced․ This ensures your project looks professional and lies flat when completed; Practice makes perfect in achieving the ideal tension․
8․2 Avoiding Common Mistakes
Avoiding common mistakes ensures your weaving project turns out smoothly․ One of the most frequent errors is uneven tension, which can cause warping or misalignment․ To prevent this, always secure your warp threads tightly and evenly․ Another mistake is not leaving enough slack in the weft yarn, leading to puckering․ Gently pull the yarn as you weave to maintain consistency․ Additionally, avoid cutting the yarn too close to the weave, as this can unravel your work․ Use scissors carefully and keep excess yarn trimmed but not too short․ Finally, ensure your warp threads are evenly spaced to prevent gaps or overcrowding in your design․ By paying attention to these details, you can achieve a professional finish․
8․3 Using Different Yarn Types Creatively
Exploring various yarn types can elevate your weaving projects․ Cotton and wool yarns are ideal for sturdy, textured weaves, while metallic or silk yarns add a luxurious touch․ Experiment with bulky yarns for thick, chunky designs or fine yarns for delicate patterns․ Blending different yarns in a single project creates visual interest and depth․ For example, pair neutral tones with vibrant accents for a modern look․ Additionally, consider yarns with unique textures, like tweed or bouclé, to add complexity to your work․ Always match your yarn choice to the desired weight and drape of your final piece․ This creative approach ensures your weaving stands out and reflects your personal style․
Easy Projects for Beginners
Start with simple projects like wall hangings or coasters․ These easy weaving ideas are perfect for beginners․ Use basic yarns and follow step-by-step guides to add beads or tassels for a personalized touch․
9․1 Simple Wall Hanging
A simple wall hanging is a great way to begin your weaving journey․ Start by cutting slits evenly on a cardboard loom․ Use basic yarn colors to create a minimalist design․ Follow easy steps to interlace the weft and warp threads․ Once complete, secure the ends and trim excess yarn․ Add tassels or beads for a personalized touch․ Display your finished piece on any wall to add a handmade decorative element․ This project introduces you to the basics of weaving, making it perfect for mastering the fundamentals before moving on to more complex designs․
9․2 Weaving Coasters
Weaving coasters is a fun and practical project for beginners․ Start by setting up a small cardboard loom or using a pre-made frame․ Cut slits evenly for the warp threads and secure them tightly․ Use yarn or fabric strips to weave a simple pattern, pulling the weft tightly for a sturdy finish․ Once complete, trim the edges and add a protective coating if desired․ These coasters are easy to customize with different colors or textures; They make great gifts or additions to your home decor․ This project teaches essential weaving skills while creating something useful and stylish for daily use․
9․3 Making a Small Ornament
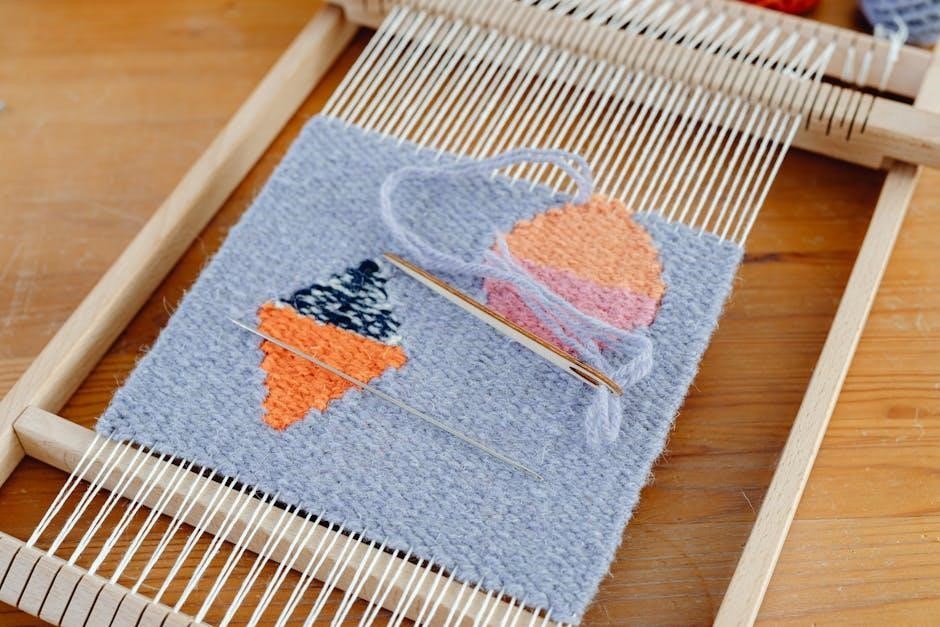
Creating a small woven ornament is a delightful and easy project․ Begin by setting up a mini cardboard loom or using a small frame․ Choose vibrant yarns or threads to add color and texture․ Weave a simple pattern, keeping the design small and intricate․ Once complete, secure the ends and trim excess yarn․ For added flair, incorporate beads or tassels․ These ornaments are perfect for gifts, decorations, or personal use․ The process is quick and rewarding, making it an ideal activity for beginners․ Customize your ornament with different materials or patterns to give it a unique touch․ It’s a fun way to practice weaving skills while crafting something beautiful and meaningful․
Mastering easy weaving loom techniques fosters creativity and relaxation․ With simple steps, anyone can craft beautiful textiles․ Keep exploring and enjoy the rewarding journey of weaving!
10․1 Recap of Easy Steps
Starting with a simple cardboard loom, cut evenly spaced slits for warp threads․ Secure the warp with loops and begin weaving by interlacing the weft yarn․ Use a hook or fingers for ease․ Pull yarn tightly to maintain even tension․ Add embellishments like beads or tassels for a personal touch․ Finish by securing loose ends and trimming excess yarn․ These easy steps make weaving accessible for everyone․ Experiment with colors and patterns to create unique textiles․ With practice, you’ll master the basics and unlock more complex designs․ Keep exploring and enjoy the creative journey of weaving!
10․2 Encouragement for Further Creativity
Now that you’ve mastered the easy steps, embrace your creativity! Experiment with vibrant yarn colors, unique patterns, and textures․ Try incorporating beads, tassels, or even fabric scraps for a personalized touch․ Don’t be afraid to explore beyond basic designs—try weaving wall hangings, coasters, or ornaments․ Display your creations proudly, whether as home decor or gifts․ Remember, weaving is a versatile craft that allows endless innovation․ Keep experimenting, and let your imagination guide you to new artistic heights․ The joy of weaving lies in its simplicity and the freedom to create something truly unique․ Happy crafting!